| Prev |
Development of a Major Drawing - Page 4 (of 4)
|
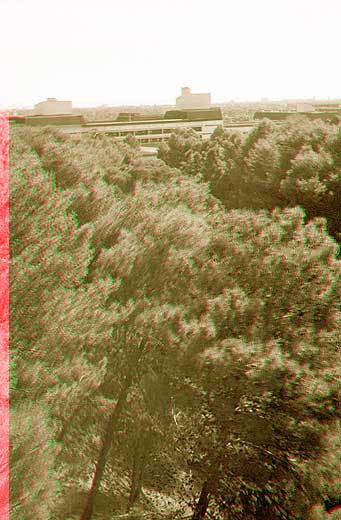
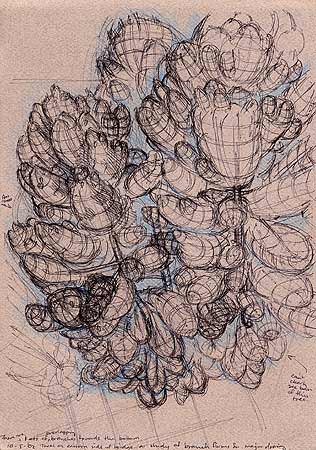
The drawing so far, was mainly based, for its structures, on the first major drawing I completed. However, I realised that I would need more information on some of the smaller forms within the trees. I had started going to the footbridge to work on the drawing on-site, and it quickly became obvious that work was only going to progress very slowly from here, because of a number of factors: 1) The time of the year was quite different to when I worked on the first drawing, and so the sun was lower in the sky and presented very different shadows and lighting to that of around November to February. I wanted to use the lighting used on the first drawing, and not of now. 2) Working on the bridge was not easy. I really wanted to work sitting down comfortably with the drawing in the shade, so that I could judge the tones accurately on the drawing, but the original drawing was carried out standing up in full sunlight, so that I could see over the sides of the bridge. I came up with a series of compromise positions, usually standing up with the drawing angled so that it wasn’t letting direct sunlight on it and perched precariously at some funny angle on my small easel. It wasn’t easy holding onto the drawing and working at the same time. Selecting different pastels was slowed down considerably (I needed more than two hands!). 3) The weather was getting unstable, with plenty of dry north wind, hot conditions, or rain. I typically had to tie my easel down against the wind using elastic “octopus” leads. I didn’t have a lot of time to play with to get the conditions I needed, so I decided to photograph the forest using pairs of photos that I could view at home as 3-dimensional records of the forms. I was hoping that I could work from these 3-D records between on-site sessions actually on the bridge. An example of a red/green 3-D photo (you can view it in 3-D using coloured glasses - red covering the right eye, green the left): |
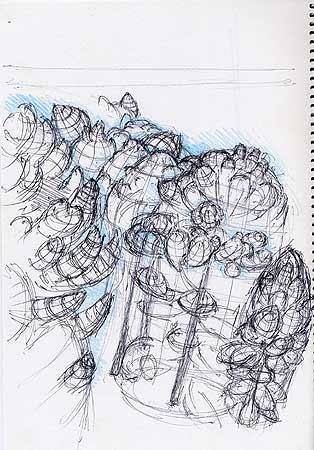
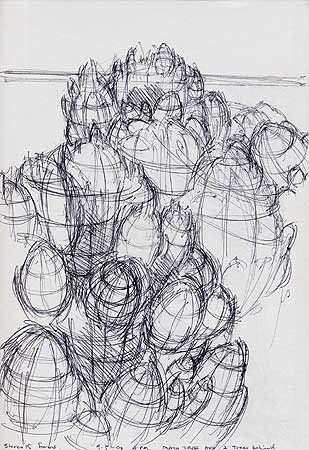
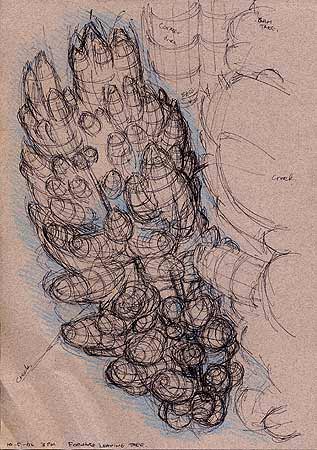
From the 3-D images, I drew a series of studies of the forms required for various parts of the main drawing:
|
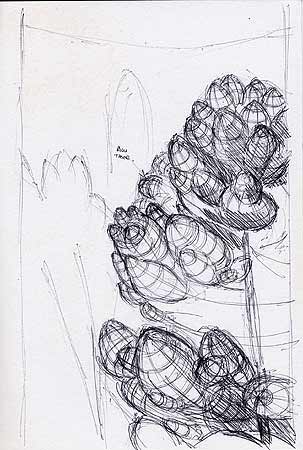
I also found it necessary to draw some studies on-site. This was a better way to work on individual parts of the drawing that were tricky to work on directly. I really missed not being able to work on-site as much as I would normally do. For me, being outside amongst the world, is an important aspect of my whole drawing activity. |
Applying those studies to my drawing: |
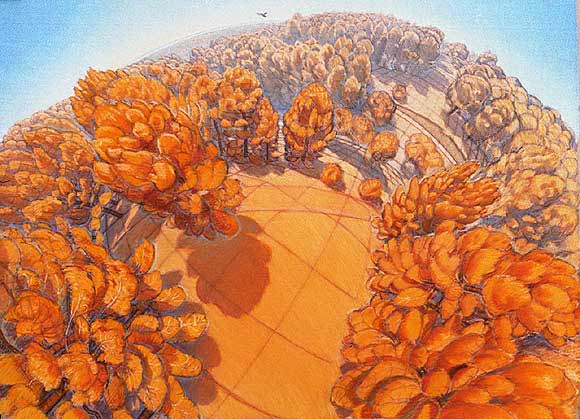
Most of the forms are defined. Some further work is required, to simplify the smallest close tree on the right, to further develop the forms within the main tree on the left, and to apply better finish to the tree tops on the right, in the valley, and within the main row on the left. |
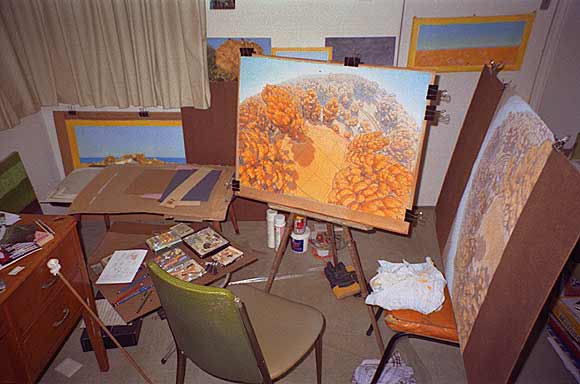
This was my studio set-up, showing my drawing on my 28-year-old easel, plastic sheet underneath, my first major version of the drawing (turned around on one end) on the right, my pastels (in boxes on a board left of drawing), my mahl stick (for lying across the drawing to allow me to rest my hand on it and work with fine control) leaning up against the desk, my old favourite drawing shirt (on the orange chair, right of the drawing) being used as a rag for cleaning the ends of pastels, and various bits and pieces lying around. Time was running out quickly, and I was working on the drawing at night as well. At one stage, I’d given up on trying to finish the drawing - there just didn’t seem to be enough time left. As it turned out, I finished it on Tuesday morning (21st May), after working on it solidly over the past few weeks. I framed the drawing that afternoon, and packed it for travel with the framed “Sugarberry Tree” drawing. My wife and I got up at 4:40 am the next day, to catch the train (the “Indian Pacific”) to Sydney. After carefully holding and looking after the paintings for more than 26 hours over some pretty rough track, we pulled into Central station in Sydney. My father picked us up in his car and took us straight around to the Art Gallery of New South Wales, where I carefully unpacked the drawings, fearing some sort of damage or mess on the inside of the glass from pastel that had come off from vibrations during transit. Fortunately, the drawings looked perfect! My wife and I were so pleased that all our precautions and care had paid off - we had done everything we could to ensure the successful entry of the drawings into the Dobell and Wynne prizes.
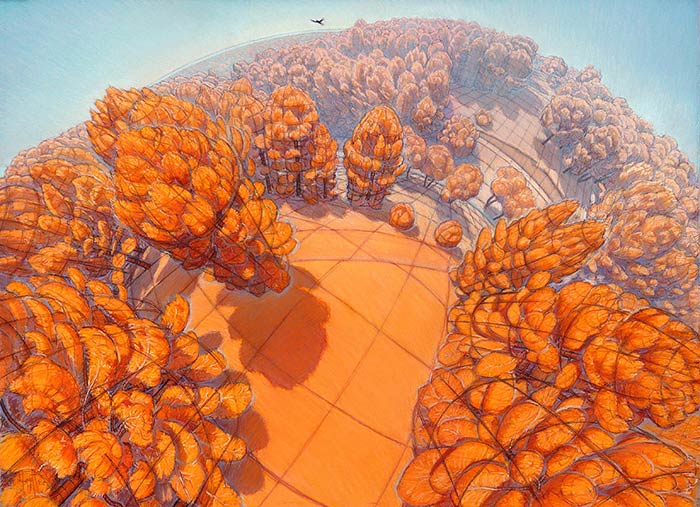
Well, here is the final version: |
When framing the image, I realised that the framers had cut the image area in the mount board 1cm too small in height. I had to reposition my signature and lose the last 1cm of my drawing. Detail: |

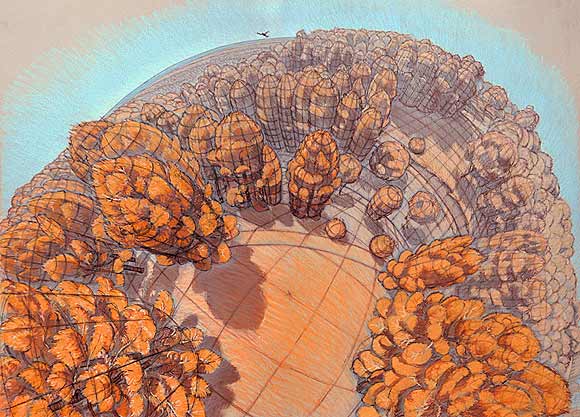
It is now interesting to compare this second major version with the first, presented below. I am sure that I have achieved a much better sense of space, a much better sense of sunlight, and a landscape that makes the viewer more a part of it. |
Conté and pastel, on Canson paper 75 x 55 cm, drawn entirely on-site, in the pine forest which is part of Flinders University.
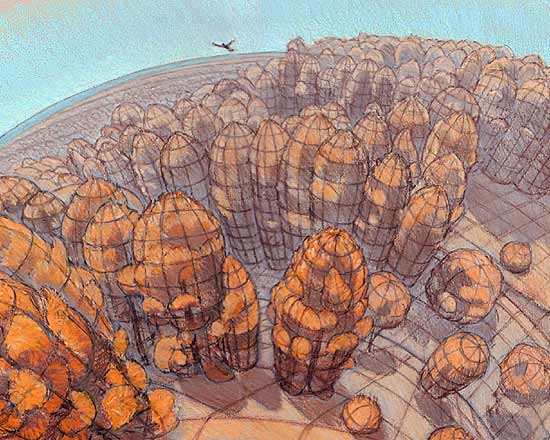
Detail 1: |
End of this documented development.
|
| Prev |
Development of a Major Drawing - Page 4 (of 4)
|